Field of Science

My New Magnets

There are two other issues that I see with
the scientific name.
Can anyone else find them?
Add your thoughts in the comments section. 
This was part of my birthday present from a friend who lives in Portland. They are magnets made from clay to resemble moss- covered stones. Right now they are still attached to the paper hanging on my refrigerator. I just can't bring myself to separate them from their great background packaging. 

The only improvement they could use for scientific accuracy is the name. For plants, a species name is only a binomial, whereas trinomials are regularly used for animals. If a level below species is needed for plants, an abbreviation before the last name is used. For plants, the levels below species include: var. = variety, subsp. = subspecies, and f. = form. 

Botanists vary widely on their use of the levels below species. Some never use them and even think that no one should use them. My undergraduate mentor's comment about levels below species was that they were for scientists who didn't have the gumption to call them different species. (In my memory this phrase is said with a south Boston accent and the word in italics was significantly more colorful.Other scientists use levels below species regularly. The ranks below species can be used to describe populations within a species that are geographically or ecologically distinct or a plants with a distinct morphology.

Personally I lean away from ranks below species, except when they are viewed as an evolutionary hypothesis in need of testing with additional data. Then I see them as a interesting question just waiting to be answered. 

For a thorough analysis of these ranks below species, check out this publication. 

December 2014 Desktop Calendar

Apologies for the blogging silence. October and November were busy months and finding time to blog has been a challenge. I was out in downtown Davis today and spotted this moss growing in between the cobblestones. It is probably Bryum argenteum, the silver sidewalk moss. It doesn't look very silver in this photo, but I am not sure what conditions bring out the shiny hues. 

We have had a lot of rain over the past two weeks in the central valley and the mosses are bursting forth in full force on many exposed soil areas in town. Hopefully we will have a rainy winter to help combat the drought we have been experiencing in California. I know that the mosses would enjoy more rain too!


1 - Single click on the image to open it up in a new window. (If you use the image directly from the blog post you will lose a lot of resolution.)

2 - Right-click (or ctrl-click) on the image, and chose the option that says, "Set as Desktop Background" or "Use Image as Desktop Picture" or "Save Image As...". The wording may vary. (If saving the image to your computer is the only option, then locate it on your computer and choose the "Set as Desktop Background" or "Use Image as Desktop Picture" option from there.)

3 - If the image does not fit your desktop neatly, you may have to adjust the image (Mac: System Preferences - Desktop and Screen Saver - Desktop; Windows: Control Panel - Display - Desktop) and choose "Fill screen" as the display mode of your background image.

October 2014 Desktop Calendar

Another moss from my August vacation to New York and Connecticut. This one is Atrichum crispum. Unlike other Atrichum species, this one does not have lamellae running down the midrib. It has relatively large translucent leaves and teeth on the edges. The leaf blade is smooth but slightly folded into a V when wet. It is a bit challenging to tell this one from a Miniaceae without capsules. The capsules of Atrichum release spores via a salt-shaker mechanism, whereas the Miniaceae have peristome teeth that move in response to changes in humidity.

Fortunately I had my handy Common Mosses of the Northeast and Appalachians field guide with me to help with this identification.  


1 - Single click on the image to open it up in a new window. (If you use the image directly from the blog post you will lose a lot of resolution.)

2 - Right-click (or ctrl-click) on the image, and chose the option that says, "Set as Desktop Background" or "Use Image as Desktop Picture" or "Save Image As...". The wording may vary. (If saving the image to your computer is the only option, then locate it on your computer and choose the "Set as Desktop Background" or "Use Image as Desktop Picture" option from there.)

3 - If the image does not fit your desktop neatly, you may have to adjust the image (Mac: System Preferences - Desktop and Screen Saver - Desktop; Windows: Control Panel - Display - Desktop) and choose "Fill screen" as the display mode of your background image.

More than just Mosses


My life as postdoctoral research fellow at the University of California, Davis is more than just mosses. I am also an active member of my postdoctoral union. The union has a number of roles such as giving postdocs a voice to maintain good pay rates and healthcare benefits, facilitating professional development with panel discussions and computer programming workshops, and creating a social network through mixers and BBQs

Yes, it does cost some money to be a union member. For me it is about $30 in fair-share fees and $10 in membership dues per month, but I think my contributions are going to good use. Besides helping UC postdocs to get a pay raise this year, I am happy to say that my contributions have helped to support the graduate students at the University of Connecticut to unionize. I earned my PhD in 2011 studying bryophytes in the Ecology and Evolutionary Biology Department at UConn and thus I am particularly invested in the university maintaining a strong graduate program that continues to produce amazing science and great researchers.

Having competitive wages relative to the cost of living and good benefits were some of the factors that drew me to the University of Connecticut for graduate school. I was also considering and accepted at UC Berkeley, but at the time they were paying less than UConn and had a much higher cost of living.

I hope that the University of Connecticut will move forward with contract negotiations with the graduate students. From the latest updates, it sounds like the process is being delayed and dragging on longer than necessary. The graduate students and the university have better places to spend their time and resources than on prolonged negotiations. 

I hope that the University of Connecticut will value and compensate graduate students fairly for all the significant contributions that they make to teaching and research at the university. Graduate students teach many of the laboratory and discussion sections, as well as designing and carrying out research that results in top notch publications. Just check out graduate student Lily Lewis's publication on bird dispersal of bryophyte diaspores or Manette Sandor's research studying the influence of remnant trees on tropical forest regeneration. Lily and Manette are both great scientists and their continued success is as graduate students is dependent upon the university agreeing to a contract that establishes standards for fair pay and benefits. 

Add your support to the graduate students at the University of Connecticut by signing this petition. Click here for a link to the petition. 

You can also follow the UConn grad student union @GEUUAW or through their website http://www.uconngradunion.org/.

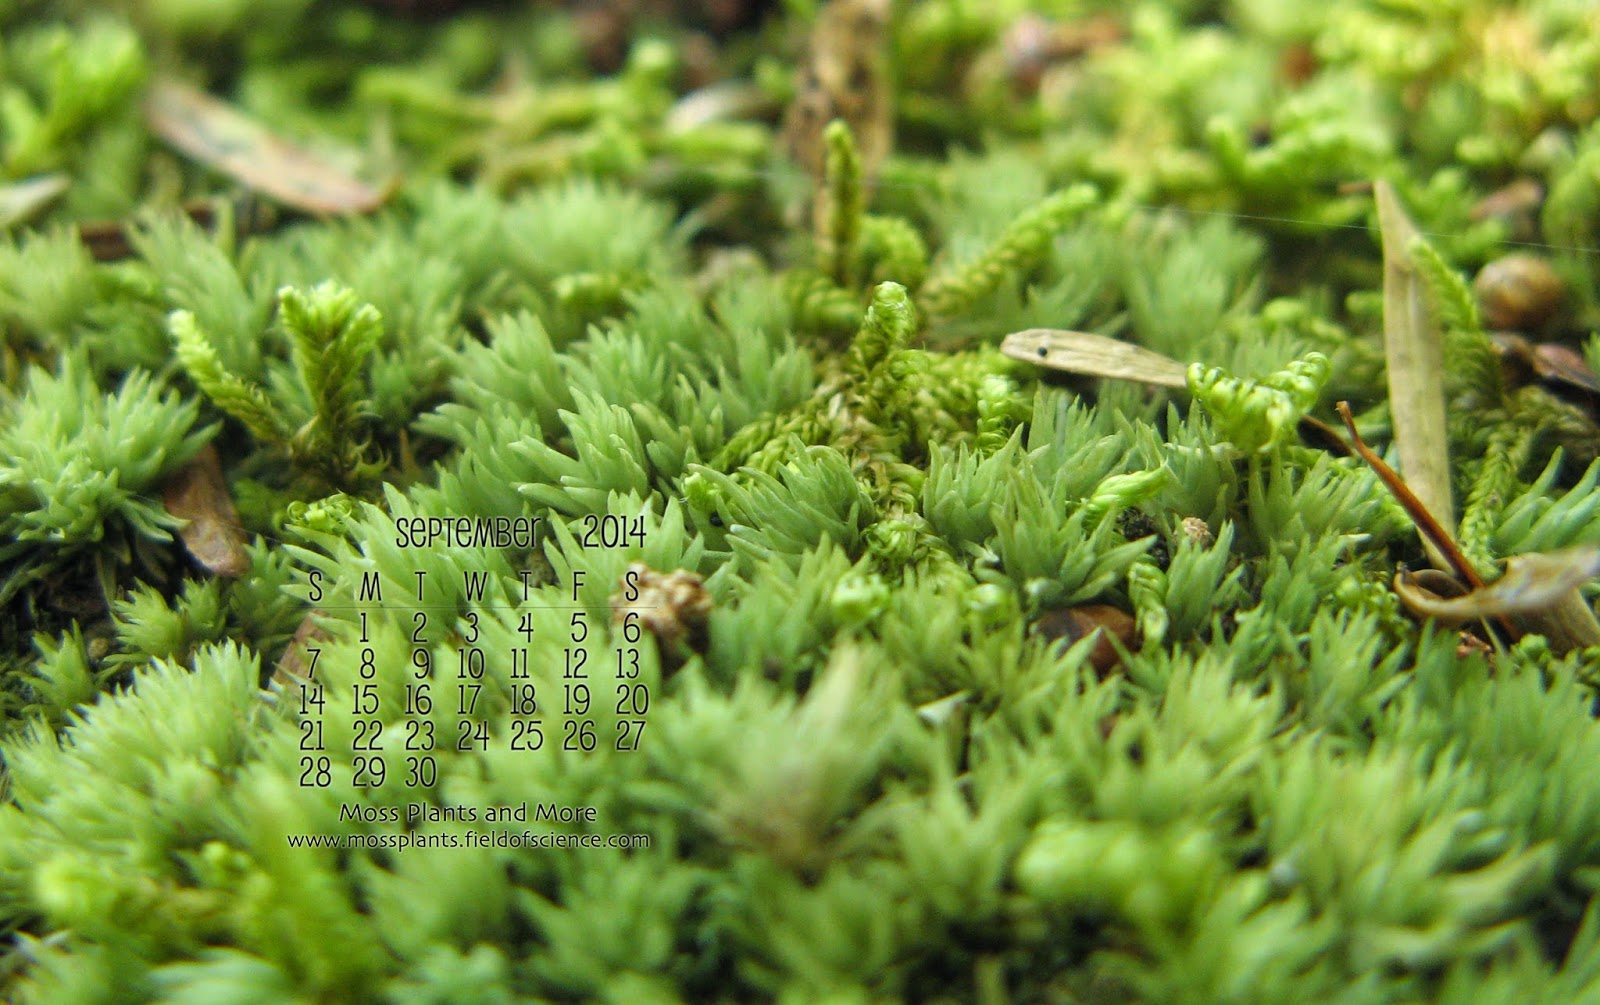
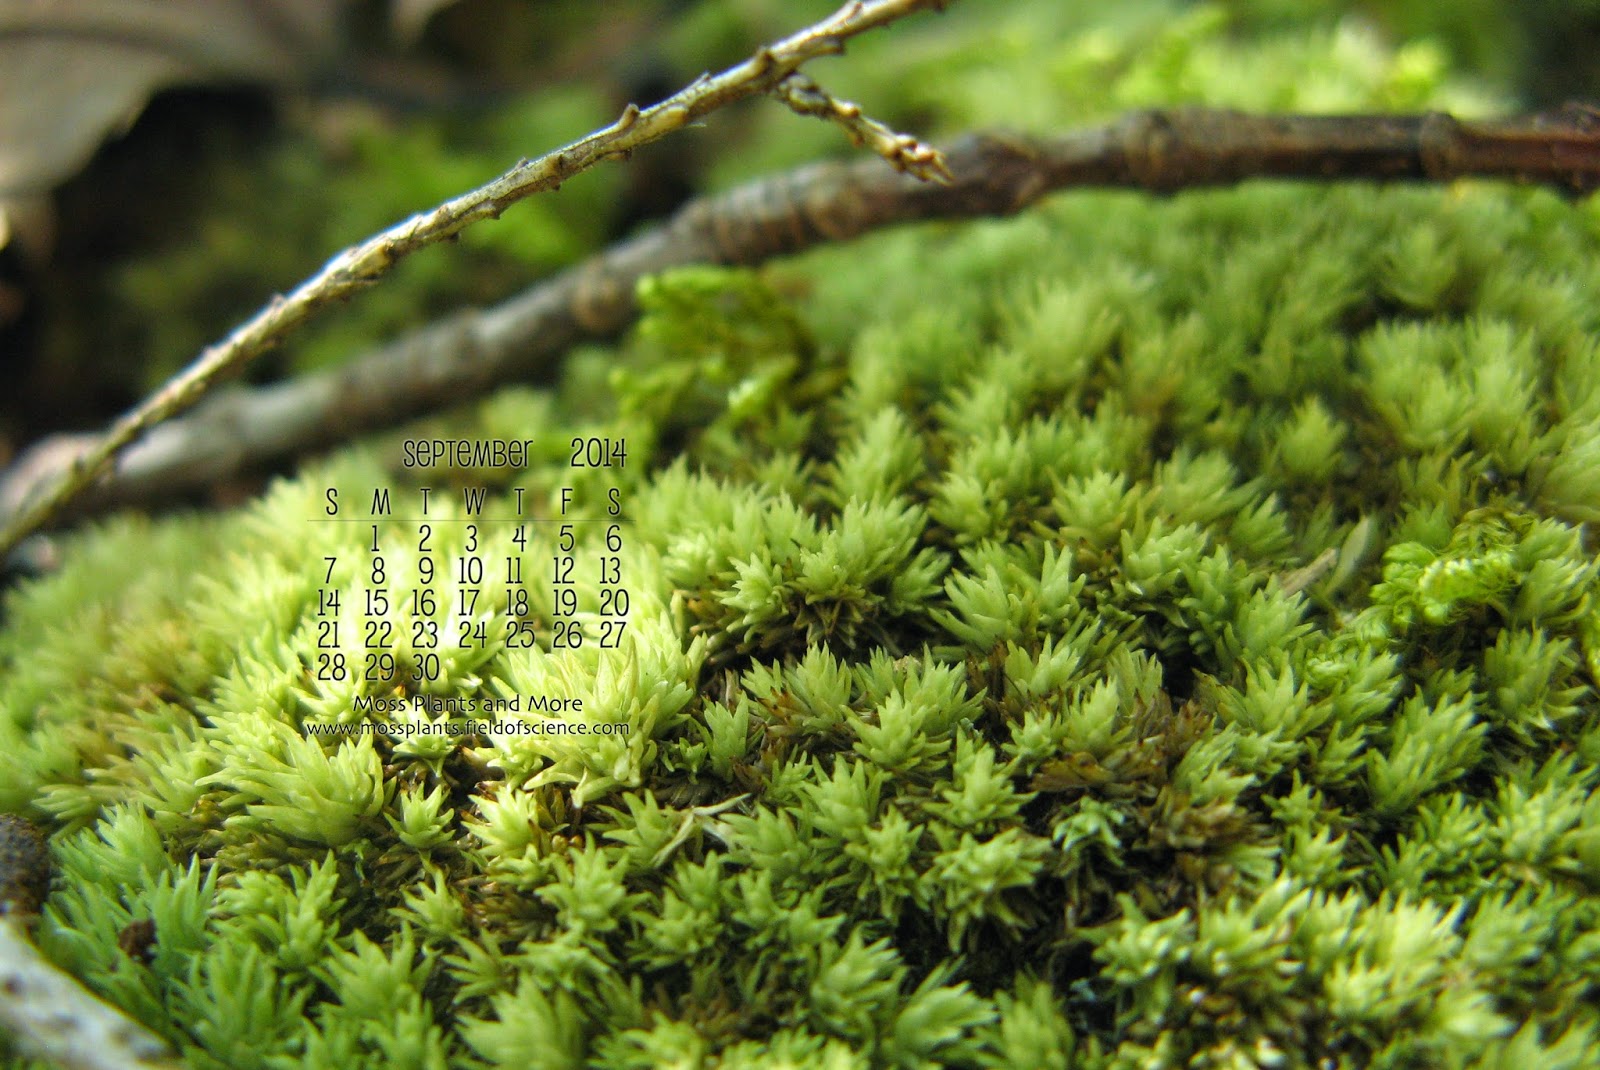
September 2014 Desktop Calendar

We are off on vacation this week visiting friends and family in New York and Connecticut. On one of our hikes we came across this great patch of Leucobryum. I couldn't decide which shot I liked better for the calendar so I put it together for both. Enjoy!

September Desktop Calendar - Option #1

September Desktop Calendar - Option #2

1 - Single click on the image to open it up in a new window. (If you use the image directly from the blog post you will lose a lot of resolution.)

2 - Right-click (or ctrl-click) on the image, and chose the option that says, "Set as Desktop Background" or "Use as Desktop Picture". The wording may vary.

3 - If the image does not fit your desktop neatly, you may have to adjust the image (Mac: System Preferences - Desktop and Screen Saver - Desktop; Windows: Control Panel - Display - Desktop) and choose "Fill screen" as the display mode of your background image.

Bryology Logo Competition

Want to combine your artistic skills and your love of bryophytes? 
Design the new logo for the International Association of Bryologists

Information about the logo competition is below.


----------------------------------------------------------------------------------------

Dear colleagues and friends of the International Association of Bryologists (IAB),

In this digital age, we feel it is an opportunistic time to update our logo to one that keeps pace with the contemporary age but also reflects the mission and history of the association. The that both of us might not be talented enough.

Thus, the International Association of Bryologists (IAB) is therefore excited to announce an open competition for a new logo of IAB.

Please send your proposals by Dec. 1st to the acting president of IAB (quandt@uni-bonn.de) or the treasurer (mkonrat@fieldmuseum.org). Proposals are welcome from IAB members as well as non-members. The IAB council will judge the proposals and the winner will be announced during the world conference of Bryology in Chile 2015. The winner will be awarded 300 USD. The second place winner will receive a five-year IAB membership.

The council is looking forward to your contributions!
Please help the society!
Your impact is highly desired, appreciated and important  for a vital association!

On behalf of the council
Dietmar Quandt & Matt von Konrat
Acting President         Treasurer

A Science Communication Activity on Birds and Bryophytes

Have you ever played the telephone game? In this game a phrase is whispered from one person to another with the players trying to repeat the phrase exactly the same. By the time the phrase makes it to the other end of the line it is often altered, sometimes dramatically so. The same can also happen to research as it is transmitted from a peer-reviewed scientific article to the popular media, such as a magazine or newspaper. One explanation for alterations to the research story is that scientists use language with lots of jargon and scientists often use many words that are qualifiers. Qualifiers are words that limit or enhance the meaning of another word. Most often when scientists use them it is to explain the scope and limits of their findings. All-in-all the language of science is significantly different from the language the news media uses to communicate with the public and the weight that is given to different terms and phrases varies between the two.

I think that science communication is an important concept for students who are training to be scientists to both ponder and explore. Thus I developed a team-based learning activity to walk students through the exploration of a scientific research article and the news media reporting on the findings. The main learning objectives of this exercise are for students to: 
-   Analyze the transmission of information from scientific publication to news media.
-   Identify absolute versus qualified statements.
-   Differentiate different organisms from bryophytes.

An additional goal of this exercise was to introduce students, potentially for the first time, to a scientific research article. Reading peer-reviewed research from beginning to end can be intimidating for science students. This activity has students explore the research article for information to compare to the news articles, resulting in students both learning how to find information in scientific papers and how to ground-truth science that is reported in the media.  

If you are interested in trying out this activity with your students I posted the materials that you will need online, via Google DriveIncluded in the materials is a detailed lesson plan, as well as a pre- and post- assessment (with a key) to measure student learning from the activity. Alternatively this activity can be modified to focus on any scientific paper from your field that has been covered in multiple news articles. 


The article that I used for this exercise was a publication studying whether migrating birds may be responsible for moving pieces of bryophytes from northern arctic regions to the far southern reaches of South America. 


The research article can be downloaded for free at the link below. 

The news articles covering this research are at BBC Nature NewsAudubon MagazineScience MagazineUConn Today, and Alaska Dispatch News.

If you use this activity with your students, it would be great to hear your thoughts about the exercise in the comments section below the post!

Mosses and the American Dipper

Mosses around the edge of the nest
The American Dipper is an aquatic songbird that captures all of its food underwater in fast flowing streams. The other interesting thing about these birds is that they use mosses in their nest construction. Last week I got to see some of them along the Payette River in Idaho. Some nests have mosses around the edge with the main body made from twigs, whereas others are roofed nests completely made of mosses. 
A nest made completely of mosses
underneath a bridge.
when I was in Idaho last week. 

Below are some additional views from the American Bryological and Lichenological Society fieldtrip into the hills of Idaho. 
A view of the Idaho hills


The Payette River


An American Dipper nest was
spotted on this rock jutting out
into the river. I took a photo,
but couldn't spot from the shore.


August 2014 Desktop Calendar

I met this moss, Scouleria aquatica, on the bryology field trip before this year's botany conference. In its current state it doesn't look very aquatic. It was growing on the rocks at the edge of the river in a zone that would be completely flooded in the springtime. During that time of the year it grows as a completely submerged aquatic moss. For the other part of the year it is high and dry for months at a time. When dry, they are in a state of suspended animation. Not photosynthesizing or growing at all

We added a bit of water to this patch and it made a dramatic change to the mosses appearance. The edges are gray, sandy, and dry, whereas the plants in the center are hydrated and green. It is amazing how rapidly mosses can take up water and start photosynthesizing. 

August Calendar

1 - Single click on the image to open it up in a new window. (If you use the image directly from the blog post you will lose a lot of resolution.)

2 - Right-click (or ctrl-click) on the image, and chose the option that says, "Set as Desktop Background" or "Use as Desktop Picture". The wording may vary.

3 - If the image does not fit your desktop neatly, you may have to adjust the image (Mac: System Preferences - Desktop and Screen Saver - Desktop; Windows: Control Panel - Display - Desktop) and choose "Fill screen" as the display mode of your background image.

Turve = Peat in Finnish

A postdoc pal recently came back from visiting family in Finland and brought me this gift for managing the postdoc seminar series here at UC Davis while she was away. 

I love the hand-build soap dish. I have been a potter for the last 8 years, so I don't by pottery very often, especially if it is something I can make myself. So getting some as a gift is quite the treat. And best of all the soap is made from peat moss! I can't see any stems of Sphagnum mixed in the soap, but it does smell a bit like peat moss. I will definitely enjoy using this mossy-filled soap! 

Translation of the first four lines.
Osmia
Domestic, Hand-made
Peat
Rapeseed Oil Soap

Mosses on the Walls

Many species of mosses grow on vertical surfaces. Rock walls, brick walls, trees. Unfortunately mosses on vertical surfaces are pretty scarce here in the central valley of California. Despite the scarcity, I now have some new mosses hanging on my wall at home.

From the Yale Peabody Museum
This is not a wall hanging but is a moss covered dishtowel! I decided to hang it in the kitchen instead of using it as a towel. Now that I see it up on the wall I think it could use a bit of ironing. 

The images on the towel are probably from an old German text illustrating the different parts of the mosses.


Above are sporophytes attached to some leafy gametophytes. But what is the moss species? The light pink and green circle in the middle left is the top of the capsule and looks like a moss in the Polytrichaceae. Nematodontous teeth with an epiphragm. Basically those are teeth around the opening of the capsule attached to a disc that combine to form a salt-shaker dispersal mechanism. However, the gametophyte leaves don't look like Polytrichaceae. The leaves are typically covered in lamellae and are significantly longer than wide. Anyone else have a guess about this species? There wasn't a reference for the images on the towel. It would have been super nerdy and helpful if they had included a citation. 

Some beautiful peristome teeth.
A Dicranum-type on the left and a Bryum-type on the right.
Thanks Rachel for this awesome present! A great combination of my love of mosses and my midwestern abundance of dishtowels!

Build-Your-Own Microscope


The microscope that I built with my aunt.
Continuing my pursuit of home microscopy, I came upon these instructions for building a microscope and had to try it out. As a microscope, it is bulkier than the small lens I discussed in my last post, but one of the major advantages is stability. Both the phone and the sample can be held still making focusing much easier. 

I tackled this project when I was in Ohio visiting my family. My aunt is a prolific woodworker and I raided her shed for supplies and power tools. The only component I ended up purchasing was a laser pointer that I disassembled for the small, plastic focusing lens inside. My first thought was to head to an office supply store for a laser pointer, but then a cat-lover in my family mentioned that laser pointers for cats can be found in many pet sections. Three dollars later, I had a laser pointer to tear apart. The online instructions mention a site where small lenses can be ordered, so that less destruction is necessary. 
A view of the adjustable stage and light source.

The project took an afternoon. Cutting wood and plexiglass, drilling holes for the bolts, and then putting it all together. I think it took me longer to hunt up all the supplies in the metal chest of drawers full of an odd assortment of bolts, nuts, and washers, along with the trip to the store for the laser pointer, than the actually assembly.

Some challenges with the microscope. The stage is a bit unsteady and can be challenging to adjust both washers in sync to the same height. In the comments of the online instructions several people came up with solutions that enable just one wheel to turn and the height of both sides to be adjusted. I didn't try any of these modifications, but I think they would be a nice addition. My solution to the unsteady stage was to use very large washers on top of the smaller ones. The stage still wobbles a bit when adjusting up and down, but the large washers were a significant improvement. 

Another issue is the light source that I am using. It was hanging out in the shed so I just grabbed it to use. However the light has a bank of bulbs that make the background illumination uneven. A quick fix was putting a piece of paper over the top to diffuse the light, but in the long term I will need to hunt up a replacement. 

A quarter for a focusing test.
Here are some photos that I took using this microscopy setup. 

A zoomed in shot of pollen on a lily anther.
I think this one came out a bit better than the one
from my previous post. It was also a bit easier to
focus using the microscope stand.


I then mounted some of the pollen on a slide topped
by a coverslip. The edges of the grains were not a crisp
as I would have liked, but maybe that is just the limit
of this microscope's magnification range. 
And now to try this microscope out on some mosses! I had a Grimmiaceae sample hanging around in my desk and thought that it would be a good test for the microscope. 

It works pretty well as a dissecting microscope.
We can see the long white hair tips at the apex
of each leaf. 
The moss leaves came out a bit better than
the pollen grains. I think practicing with the microscope
improved my focusing and skill lining up the camera
with the lens to get a better photo. 

Overall I really like the setup and think that it is a good alternative for having a home microscope. After the test run, I think that I could use a more powerful lens, or I think some of the instructions mention stacking lenses. It has plenty of magnification to function as a dissecting microscope, but needs a bit more power to work well as a compound microscope, at least for things as small as mosses. 

If you end up building one of your own it would be great to hear about your experiences in the comments section!

July 2014 Desktop Calendar

July Desktop Calendar
1 - Single click on the image to open it up in a new window. (If you use the image directly from the blog post you will lose a lot of resolution.)

2 - Right-click (or ctrl-click) on the image, and chose the option that says, "Set as Desktop Background" or "Use as Desktop Picture". The wording may vary.

3 - If the image does not fit your desktop neatly, you may have to adjust the image (Mac: System Preferences - Desktop and Screen Saver - Desktop; Windows: Control Panel - Display - Desktop) and choose "Fill screen" as the display mode of your background image.

Cell Phone Microscopy

micro phone lens packaging
and case
In my pursuit of portable microscopy I came across this product initially funded through Kickstarter. The micro phone lens is a small plastic disc that sticks to a cell phone's camera lens, turning it into a 15X microscope. I had to try it out and I thought it would be worth the $15 experiment. 

Case with lens in the
lower lefthand corner.
 
The lens comes in a small container with an eye-catching black and white design on the top. It is great that the whole setup is so portable, but I am in a constant state of nearly loosing it. I have set my phone down, forgetting to have the lens facing up, only to have the lens come off as I picked up my phone. I have dropped it on the floor covering it in dust. And last night I completely forgot to take the lens off when I was finished and found it stuck on the kitchen table when I went to eat my cereal and read my morning dose of The Economist. Maybe it was just a forgetful and slightly klutzy episode of microscopy, but you get the idea. Beware of loosing this small disc that is slightly larger than the O on your keyboard! Fortunately the lens is also quite resilient. It is bendable and can be easily cleaned with water. 


Let me show you what this little lens can do. I pulled out a dried lichen that I collected on a drive into the California coast range. It is the lace lichen, Ramalina menziesii, aptly named for the lacy filaments that increase the surface area of this lichen, enabling it to better absorb moisture and nutrients from the air. 

Ramalina menziesii the lace lichen

I took the photos below with the micro phone lens stuck to my Nokia Lumina 928 cell phone. The lens requires a camera with at least a 5 megapixel camera and mine is 8.7 megapixels. The center of the photos is in crisp focus, but I was disappointed that the field of view is so small and that parts of the lichen near the edge of the image are thus out of focus. The demo on the website has the entire field of view in focus. That video was taken with a tablet whereas mine were with a phone, so it could be that the interaction between the lens and my phone optics are the issue. 

An even closer view of the lace lichen
Up close with the lace lichen


The other issue I had was stabilizing the camera and taking a photo at the same time. The instructions online recommend using the lens case as a platform for the phone when taking photos. This works pretty well, but I ended up needing to tip my phone to adjust the distance to the sample I was looking at since it wasn't sitting flush against the table.


This company is also in the process of developing a 150X lens and just had another successful Kickstarter project to fund it. After my experience with the 15X lens I think I will hold off on purchasing the higher magnification one. More magnification means a smaller depth of field and I think that the 15X lens is reasonably challenging to focus. I bet that the 150X will be even more difficult. I will wait until some reviews come out before jumping on that one. 


Lily flower
Another plant I examined was a lily that I got in a bouquet from the farmer's market on Saturday. Specifically I zoomed in to take a look at the the pollen-covered anthers.


Anther


The 15X lens gets us significantly closer to the pollen than my cell phone camera can without assistance. Still a small field of view, but all-in-all reasonably good for a 15 dollar addition to my magnification arsenal.  
The pollen up close and personal.